

Key Takeaways
- Hip thrusts target your glutes more directly than squats and deadlifts, making them the gold standard for building a powerful posterior.
- You don't need a fancy gym setup. A barbell, some padding, and a sturdy surface are all you need to get started.
- Correct form is crucial; keeping your chin tucked, shoulders stable, and driving through your heels will maximize results while preventing injury.
- Common mistakes like excessive back arching and incorrect bar placement can significantly reduce effectiveness and increase injury risk.
- SOLE Olympic barbell and adjustable bench create the perfect home hip thrust station for serious glute gains.
Barbell Hip Thrust Benefits
Glute Activation Power
The hip thrust activates more gluteal muscle fibers than any other exercise according to EMG studies. This happens because the movement puts your glutes under tension through their full range of motion, something squats and deadlifts simply don't accomplish.
When performed correctly, you'll feel an intense contraction at the top of each rep that signals maximum muscle recruitment. This superior activation translates to faster strength gains and muscle development that carry over to everyday activities and other exercises.
Core Strength Gains
While hip thrusts primarily target your glutes, they're secretly an outstanding core exercise too. During each rep, your core muscles work overtime to stabilize your spine and maintain proper positioning. This engagement builds functional core strength, different from what you get with traditional ab exercises.
The isometric contraction required throughout the movement strengthens your entire midsection while teaching your body to brace properly. It’s a skill that transfers to virtually every other lift in your program.
Athletic Performance Boost
Strong glutes are the powerhouse behind virtually every athletic movement worth doing. When you strengthen your glutes properly, you're essentially upgrading your body's engine.
Here's what you can expect from consistent hip thrust training:
- Increased sprinting speed and power: Your glutes provide the drive that propels you forward with each stride.
- Improved jumping ability: If you're reaching for something on a high shelf or playing recreational sports, stronger glutes mean more explosive power.
- Enhanced lateral stability: Better control during side-to-side movements, crucial for everything from avoiding potholes to playing sports.
- Reduced lower back pain: Strong glutes take pressure off your lower back by doing their fair share of the work.
- Better performance in other lifts: Hip thrusts directly improve your squat and deadlift numbers by addressing a common weak link.
|
At SOLE, we're proud to offer top-quality exercise equipment designed for home and gym use. Our machines are built to meet the highest standards of durability and performance, making them ideal for fitness enthusiasts at any level. SOLE Products
|
Home Setup Essentials
Home Hip Thrust Station Checklist:
- Stable elevated surface (bench, sturdy ottoman, step platform)
- Barbell or suitable alternative (dumbbells, resistance bands, etc.)
- Padding for hip comfort (folded yoga mat, towel, or specialized pad)
- Non-slip floor surface or mat
- Approximately 6' × 4' clear floor space
- Optional: weight plates for progressive loading
Barbell Alternatives
No barbell? No crisis. A heavy dumbbell works perfectly when placed across your hips in the same position as a barbell. For beginners, even a loaded backpack or a heavy household item can provide enough resistance to feel the burn.
- Dumbbell Approach: Single heavy dumbbell placed horizontally across your hips. Provides excellent stability and is perfect for intermediate lifters.
- Resistance Band Method: Anchor bands to a sturdy base and loop over your hips. The variable resistance creates peak tension exactly where you want it: at the top of the movement.
- Household Item Creativity: Backpacks filled with books, laundry detergent containers, bags of soil, or water jugs. The key is finding something heavy enough to challenge you while maintaining stability.
Support Surface Options
Your support surface should position your shoulders at a height that creates roughly a 90-degree knee bend when your feet are flat on the floor. Weight benches are ideal, but creativity works just as well.
The critical factor is stability. Your support surface absolutely cannot move during the exercise. Test it with bodyweight thrusts before adding any external load.
- Couch Edge: Can work if it's the right height and won't shift. Place it against a wall for extra stability.
- Ottoman: Perfect height for many people, but ensure it won't tip or slide.
- Step Platform: Adjustable height makes it ideal for different body types.
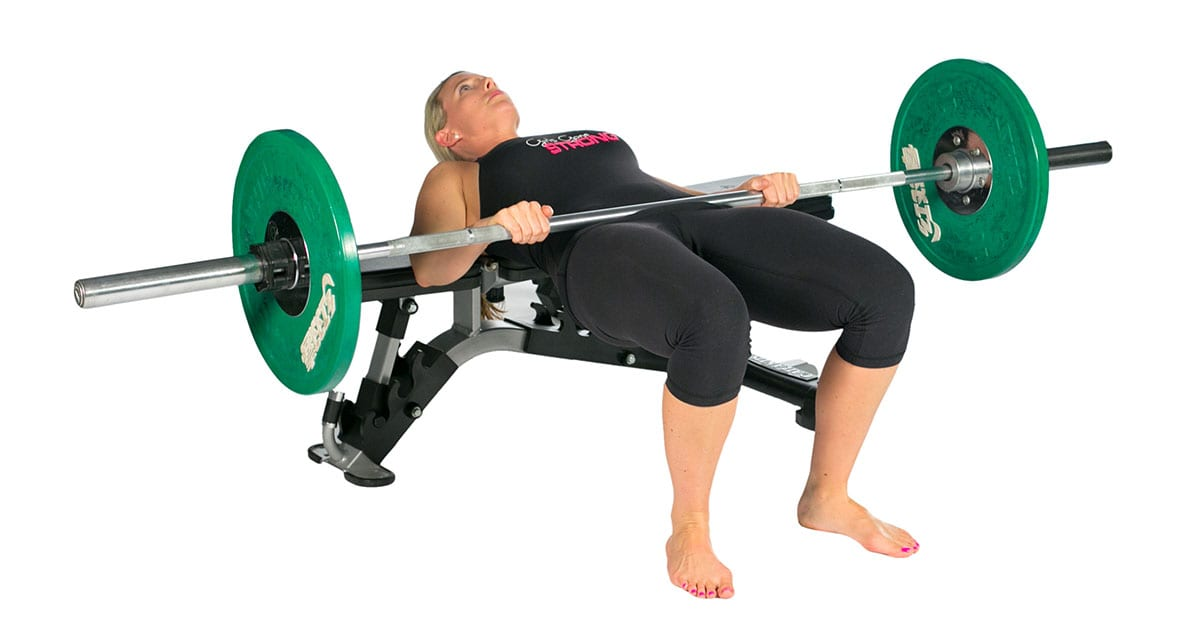
- Dedicated Bench: The gold standard, if you have one.
Floor Protection Tips
A dedicated exercise mat like the SOLE equipment mat provides the best solution for both cushioning and grip. It works well because they prevent sliding while providing adequate protection.
Space Requirements
You need less space than you might think for effective hip thrusts. A 6' by 4' area typically provides enough room for the exercise and equipment positioning. The key consideration is clearance for the full range of motion. Your hips need to lower to the ground and extend upward without hitting anything.
Test your setup with bodyweight movements first to ensure you have adequate space. Nothing kills a workout faster than banging your knee on a coffee table mid-rep.
Perfect Form Guide
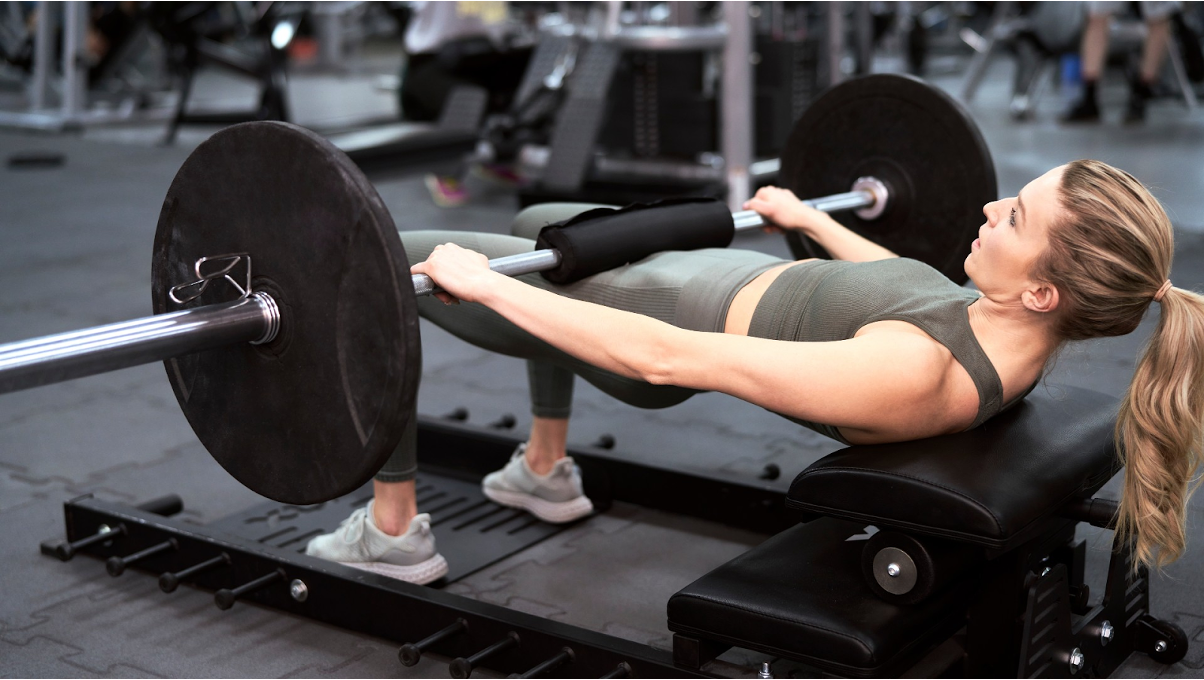
You can pad between the weight and your hips; a folded towel, cushion, or specialized hip thrust pad makes a world of difference in comfort and allows you to focus on proper muscle activation rather than discomfort. (Image courtesy of RitFit)
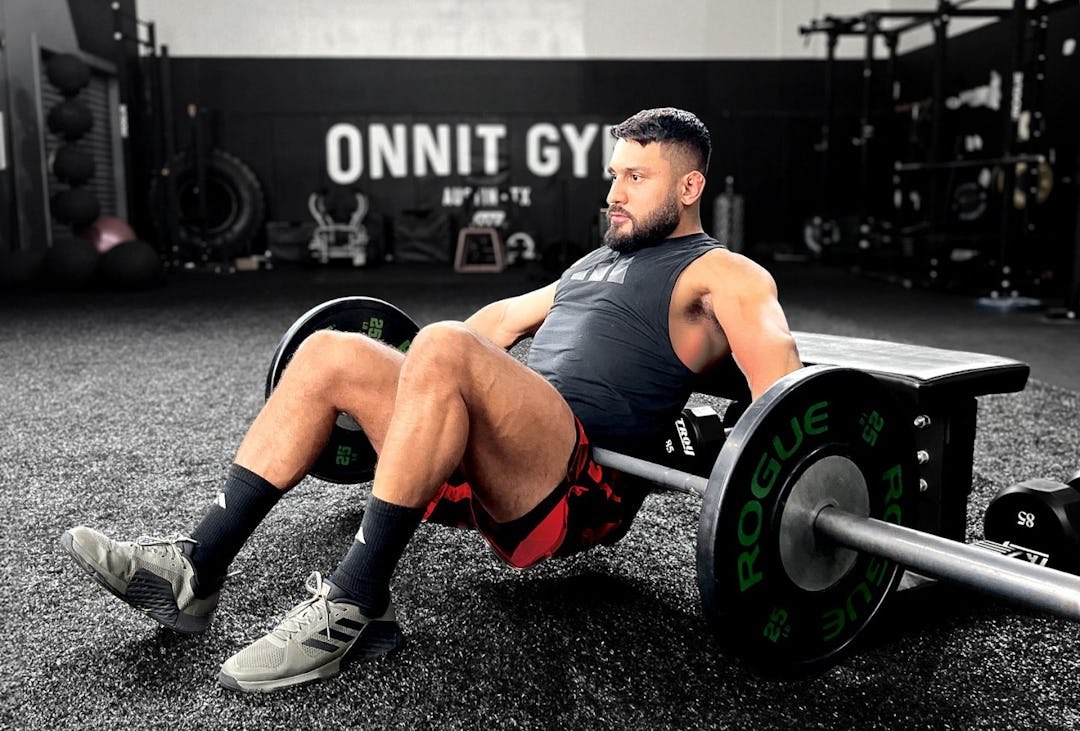
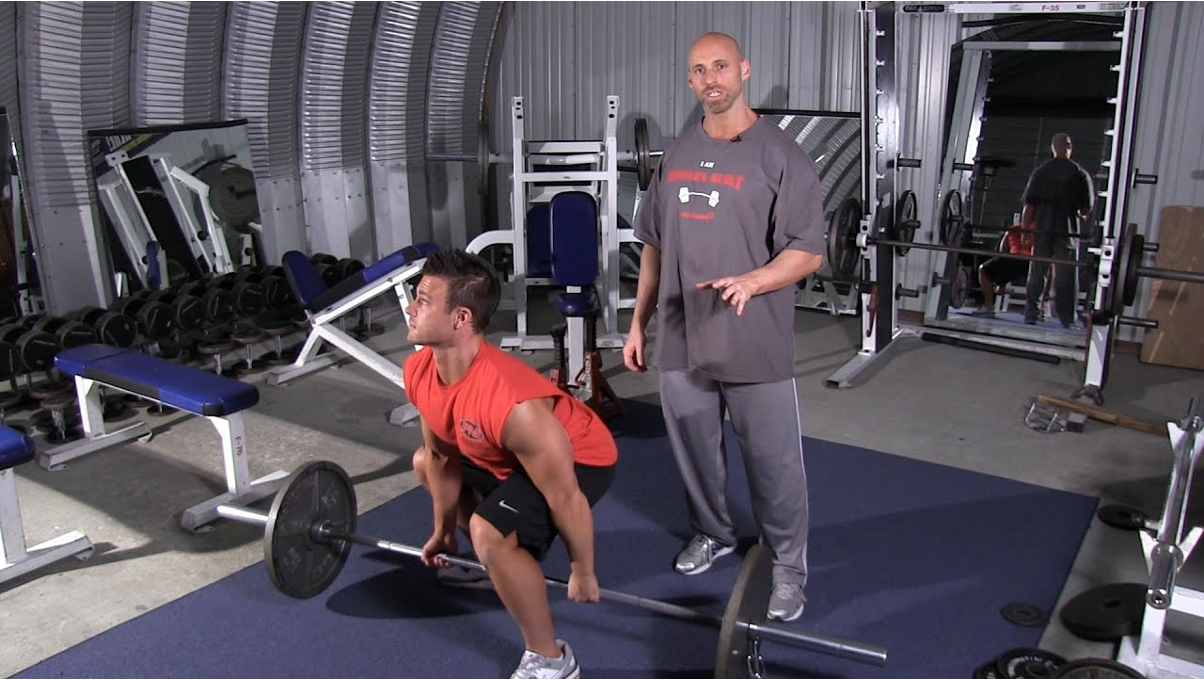
1. Starting Position
Begin seated on the floor with your upper back (shoulder blade area) against the edge of your support surface. Your knees should be bent with feet flat on the floor, positioned about hip-width apart and far enough forward that when you thrust up, your shins form a vertical line. Positioning is crucial here; being too close to the bench and you'll limit range of motion, while being too far away and you'll strain your neck and shoulders.
Place the barbell (or alternative resistance) directly in the crease of your hips, not on your stomach or across your thighs. This position creates the proper lever arm for the exercise.
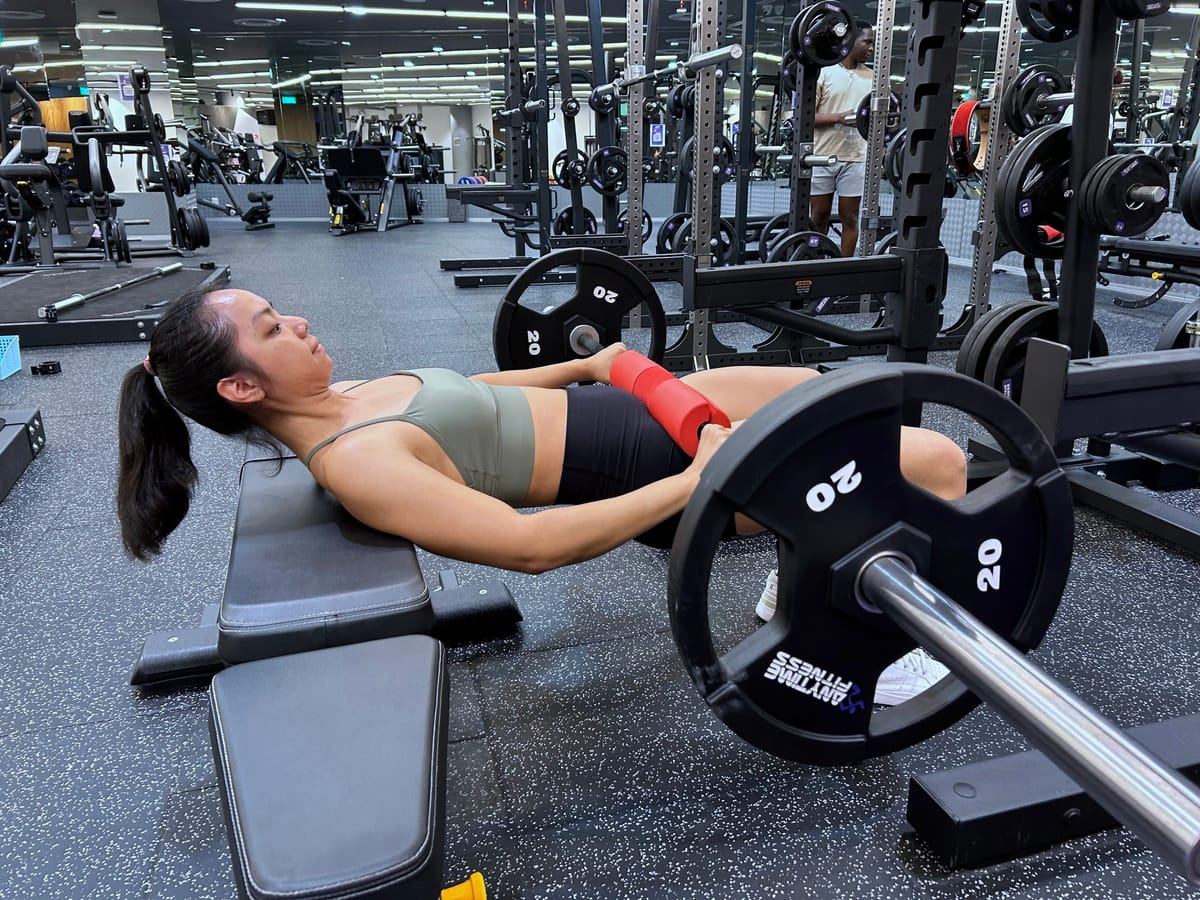
2. Bar Placement
The barbell should sit comfortably in the crease where your thighs meet your pelvis. This position allows for natural movement without the bar rolling during the exercise.
Use your hands to steady the bar on either side, with a grip wide enough to maintain control but not so wide that your elbows flare excessively. Your grip isn't meant to lift the weight, it's purely for stabilization as your glutes do the actual work.
3. Foot Positioning
Place your feet flat on the floor about shoulder-width apart. The exact distance from your body depends on your height and leg length, but you're aiming for your shins to be vertical at the top position.
When your feet are positioned correctly, you'll feel the work in your glutes rather than your hamstrings or lower back. Try different foot positions during your warm-up to find what activates your glutes best. For some people, a slightly wider stance works better, while others prefer a narrower position.
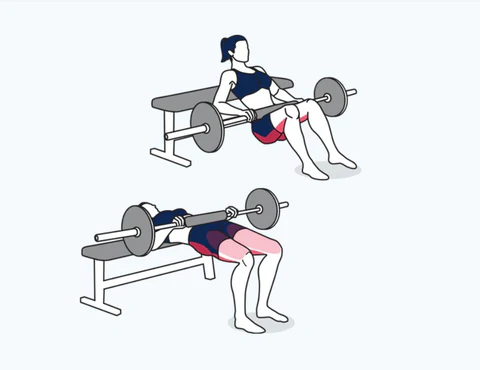
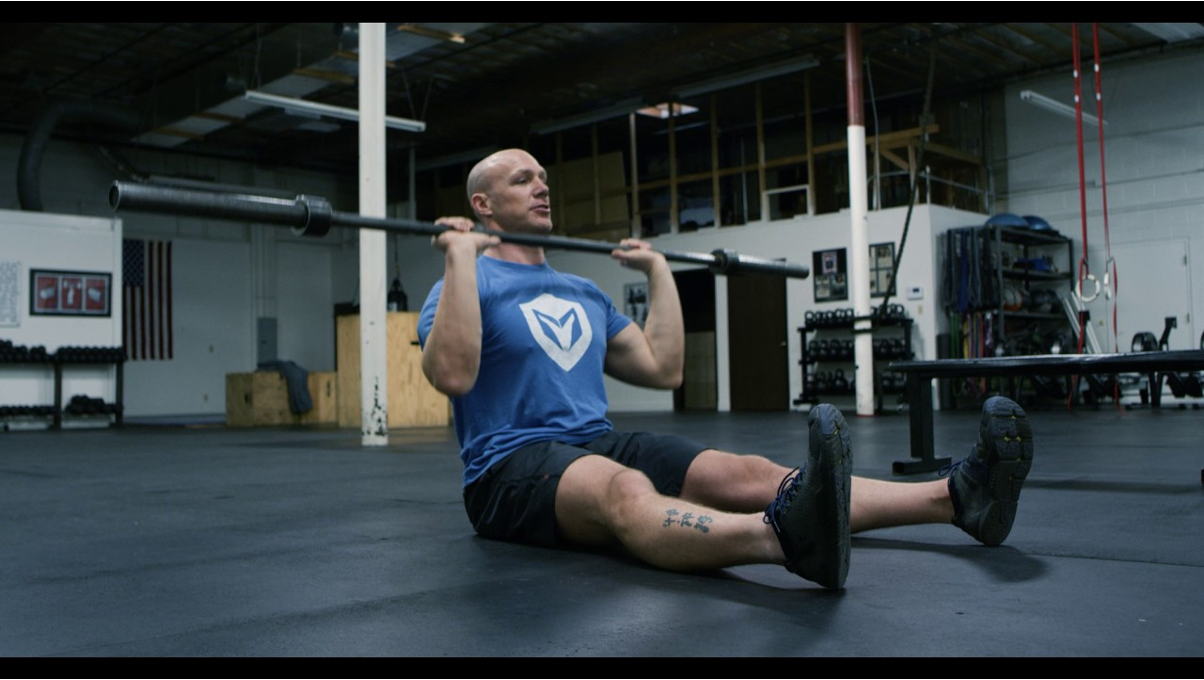
4. Hip Drive Technique
Push through your heels and drive your hips upward by squeezing your glutes. At the top position, your body should form a straight line from shoulders to knees, not hyperextended.
The secret is to think about pushing your hips forward rather than just lifting upward. This subtle directional cue makes a massive difference in muscle activation. Hold the contracted position for 1–2 seconds at the top while actively squeezing your glutes as hard as possible. This isometric hold is where much of the muscle-building magic happens.
Throughout the movement, keep your core engaged to prevent excessive arching in your lower back. Your chin should remain slightly tucked, with your gaze directed at a point on the ceiling about 45 degrees in front of you.
5. Controlled Descent
Lower your hips back to the starting position with control; don't simply drop back down. The eccentric (lowering) portion of the movement contributes significantly to muscle development. Count to 2–3 seconds on the way down for optimal results.
As you lower, maintain tension in your glutes rather than fully relaxing at the bottom. This technique, called "keeping the tension," ensures maximum muscle fiber recruitment throughout the entire set.
Common Mistakes Fixed
Improper Back Position
Excessive back arching is one of the most common mistakes with hip thrusts. This shifts the work from your glutes to your lower back, reducing effectiveness while increasing injury risk.
To fix this, focus on posteriorly tilting your pelvis (tucking your tailbone slightly) at the top of the movement. Think about bringing your ribs down toward your pelvis rather than pushing your chest up. This small adjustment keeps tension on the glutes where it belongs.
Another back position error is allowing your shoulders to slide off the bench during the movement. This creates instability and can strain your neck. Establish a solid shoulder position before starting, and maintain it throughout each repetition.
Knee Alignment Errors
Knees caving inward (valgus collapse) during hip thrusts indicates weak glute medius muscles and improper activation patterns. This reduces glute recruitment and also places stress on the knee joint.
Focus on actively pressing your knees outward during the movement. For example, imagine trying to spread the floor apart with your feet. For some people, placing a mini-band just above the knees serves as a helpful reminder to maintain proper alignment.
Bar Rolling Issues
A rolling barbell creates discomfort and disrupts your form. This usually happens when the bar is positioned too high on the abdomen rather than in the hip crease.
To prevent rolling, position the bar directly in the fold between your hips and thighs. Using a specialized hip thrust pad or even a folded yoga mat provides stability while creating a "shelf" for the bar to rest against. Keep your hands on the bar throughout the movement to provide additional control.
Pain-Free Execution
Hip Bone Discomfort Solutions
The pressure of a barbell against your hip bones can be uncomfortable, especially as you increase weight. A specialized barbell pad designed for hip thrusts provides the best protection.
If you don't have one, a thick folded towel or yoga mat works well too. Position the padding directly over the hip crease where the barbell sits. For severe discomfort, consider using two layers of padding or temporarily switching to alternative resistance methods like resistance bands until you can get proper equipment.
Lower Back Protection
Lower back pain during hip thrusts usually indicates form issues rather than an inherent problem with the exercise.
Focus on engaging your core throughout the movement and avoid excessive arching. Start each rep with a slight posterior pelvic tilt (tucking your tailbone) and maintain this position as you drive upward.
If back pain persists despite form adjustments, reduce the weight and gradually rebuild with perfect technique. Some people benefit from placing a small cushion under their lower back during the setup phase.
Neck Safety Tips
Neck strain typically occurs when people look forward instead of maintaining a neutral neck position. Keep your chin slightly tucked throughout the movement, with your gaze directed at an angle toward the ceiling.
Avoid the temptation to look down at your hips to check your form; instead, use a mirror positioned to the side if possible. Ensure your bench or support surface has adequate padding for your upper back and shoulders, as pressure points here can radiate discomfort to the neck.
Build Your Perfect Home Hip Thrust Setup with SOLE
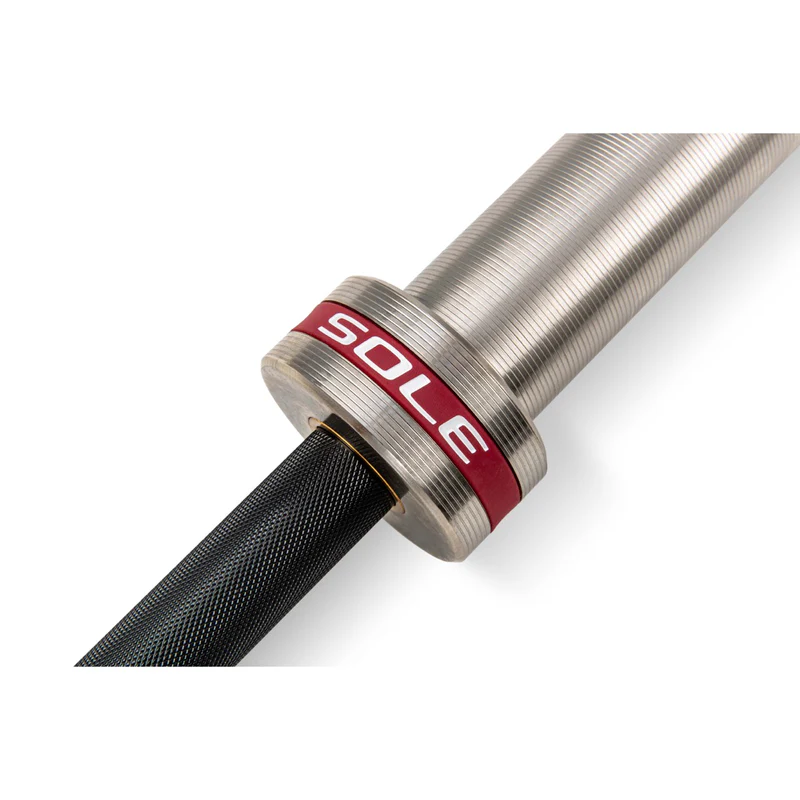
Ready to build glutes that could crack walnuts? SOLE's got your back (and your backside). The SW111 Olympic Barbell is the perfect hip thrust companion. Its balanced weight distribution means no awkward tilting or rolling when you're trying to focus on that glute squeeze. The specialized knurling gives you just enough grip for control without tearing up your hands during those high-rep burnout sets.
But here's where SOLE really shines for home hip thrusters: the SW116 Weight Bench. With 9 different backrest positions, you can find the perfect angle for your body proportions. Not everyone's built the same, and having an adjustable bench means you can dial in the exact height that puts your shoulder blades in the perfect position. Plus, with its 550-pound capacity, you can load up that barbell without worrying about stability.
While you'll still want padding on the barbell, the SOLE Equipment Mat creates the perfect foundation for your entire setup. Its non-slip surface keeps your feet planted during those explosive drives, while the cushioning protects your floors from the barbell when you're loading and unloading plates. At 36.5" by 78", you've got plenty of space for the full range of motion.
The SOLE+ App ties it all together with form tutorials and progressive programs specifically for glute development. You'll learn not just how to hip thrust, but how to structure your training for maximum results. No more guessing about sets, reps, or progression; just follow the plan and watch those glutes grow.
Ready to transform your glute game? Check out SOLE’s complete strength collection today!
Frequently Asked Questions (FAQs)
How often should I do hip thrusts?
For optimal results, perform hip thrusts 2–3 times per week with at least 48 hours between sessions. This frequency provides enough stimulus for growth while allowing adequate recovery. If you're training your glutes with other exercises like squats and deadlifts, you might reduce dedicated hip thrust sessions to twice weekly. More advanced lifters might benefit from varying the intensity, doing one heavy session (6–8 reps) and one higher-rep session (15–20 reps) each week to target different muscle fiber types.
Can I do hip thrusts without a barbell?
Absolutely! While barbells offer convenient progressive loading, many alternatives work wonderfully at home. Dumbbells, resistance bands, weighted backpacks, and even water jugs can provide effective resistance. If you’re just starting out, bodyweight hip thrusts with a focus on the squeeze at the top position and slower tempo can be challenging. Single-leg variations also significantly increase difficulty without requiring additional weight.
Should I feel hip thrusts in my lower back?
No, hip thrusts should primarily target your glutes with some secondary hamstring involvement. If you're feeling the work in your lower back, you're likely arching excessively or not engaging your core properly.
Focus on maintaining a neutral spine position and slightly tucking your tailbone at the top of the movement. Reduce the weight until you can perform the exercise with proper form and glute activation. Sometimes, simply repositioning your feet (usually bringing them slightly closer to your body) can shift the work back to your glutes.
How do I prevent the barbell from hurting my hips?
Hip discomfort during thrusts is common but easily addressed. The best solution is a dedicated barbell pad designed specifically for hip thrusts. These provide ample cushioning right where you need it. If you don't have a specialized pad, a folded yoga mat or a thick towel works well too. Position the padding directly in the hip crease where the barbell sits.
What SOLE equipment makes the best hip thrust setup?
The dream team for hip thrusts is definitely the SW111 Olympic Barbell paired with the SW116 Weight Bench. The barbell's balanced construction means it won't roll or tilt on your hips, which is crucial when you're trying to focus on the movement. The bench is perfect because those 9 adjustable positions let you find exactly the right height for your body; not everyone's the same height, and having options makes a huge difference. Add the Equipment Mat to protect your floors and give you stable footing, and you've got a professional-quality hip thrust setup at home.

Leave a comment
This site is protected by hCaptcha and the hCaptcha Privacy Policy and Terms of Service apply.