

Key Takeaways
- Replacing your treadmill belt can improve performance and extend equipment life.
- Essential tools include a screwdriver set, Allen wrench, and lubricant.
- Always turn off and unplug your treadmill before starting any replacement work.
- Regular maintenance can prevent future issues and ensure a smooth workout experience.
- SOLE treadmills provide high-quality options to match any fitness level and home workout needs.
SOLE Treadmill Belt Issues
Identifying Symptoms
First, let's talk about the signs that indicate your treadmill belt needs replacing. Here are some symptoms to watch out for:
- Fraying edges: If the belt's edges are starting to look worn or frayed, it's a sign that the belt is deteriorating.
- Slipping: Does the belt slip or hesitate when you run? This could indicate it's losing its grip.
- Jerky movements: A smooth run is essential. If your treadmill feels jerky or uneven, the belt might be to blame.
- Unusual noises: Squeaking or grinding sounds are often a cry for help from your treadmill belt.
Importance of Replacement
Replacing a worn-out treadmill belt is an investment in your treadmill's longevity and your workout quality. A new belt ensures that your treadmill runs smoothly, reducing the risk of injury during your workouts.
A well-maintained treadmill can save you money in the long run. Instead of facing costly repairs or even having to buy a new treadmill, a simple belt replacement can keep your machine in top shape.
Don't wait until it's too late - regular checks and timely replacements are the secret to a trouble-free treadmill experience.
|
At SOLE, we're proud to offer top-quality exercise equipment designed for home and gym use. Our machines are built to meet the highest standards of durability and performance, making them ideal for fitness enthusiasts at any level. SOLE Products
|
Tools to Replace SOLE Treadmill Belt
Essential Tools List
- Screwdriver set: You'll need this to remove the treadmill's motor hood and other components.
- Allen wrench: This tool is crucial for adjusting the tension of the belt.
- Treadmill lubricant: Applying lubricant to the deck ensures a smooth operation and reduces wear.
- Replacement belt: Make sure you have the correct size and type for your specific treadmill model.
Additional Helpful Items
Besides the essential tools, there are a few additional items that can make the process smoother:
- Flashlight: Good lighting is vital when working inside the treadmill.
- Cleaning cloth: Use this to wipe down any dust or debris inside the treadmill.
- Gloves: Protect your hands from sharp edges and improve your grip on tools.
Step-by-Step Replacement Process
Disconnect Power Supply
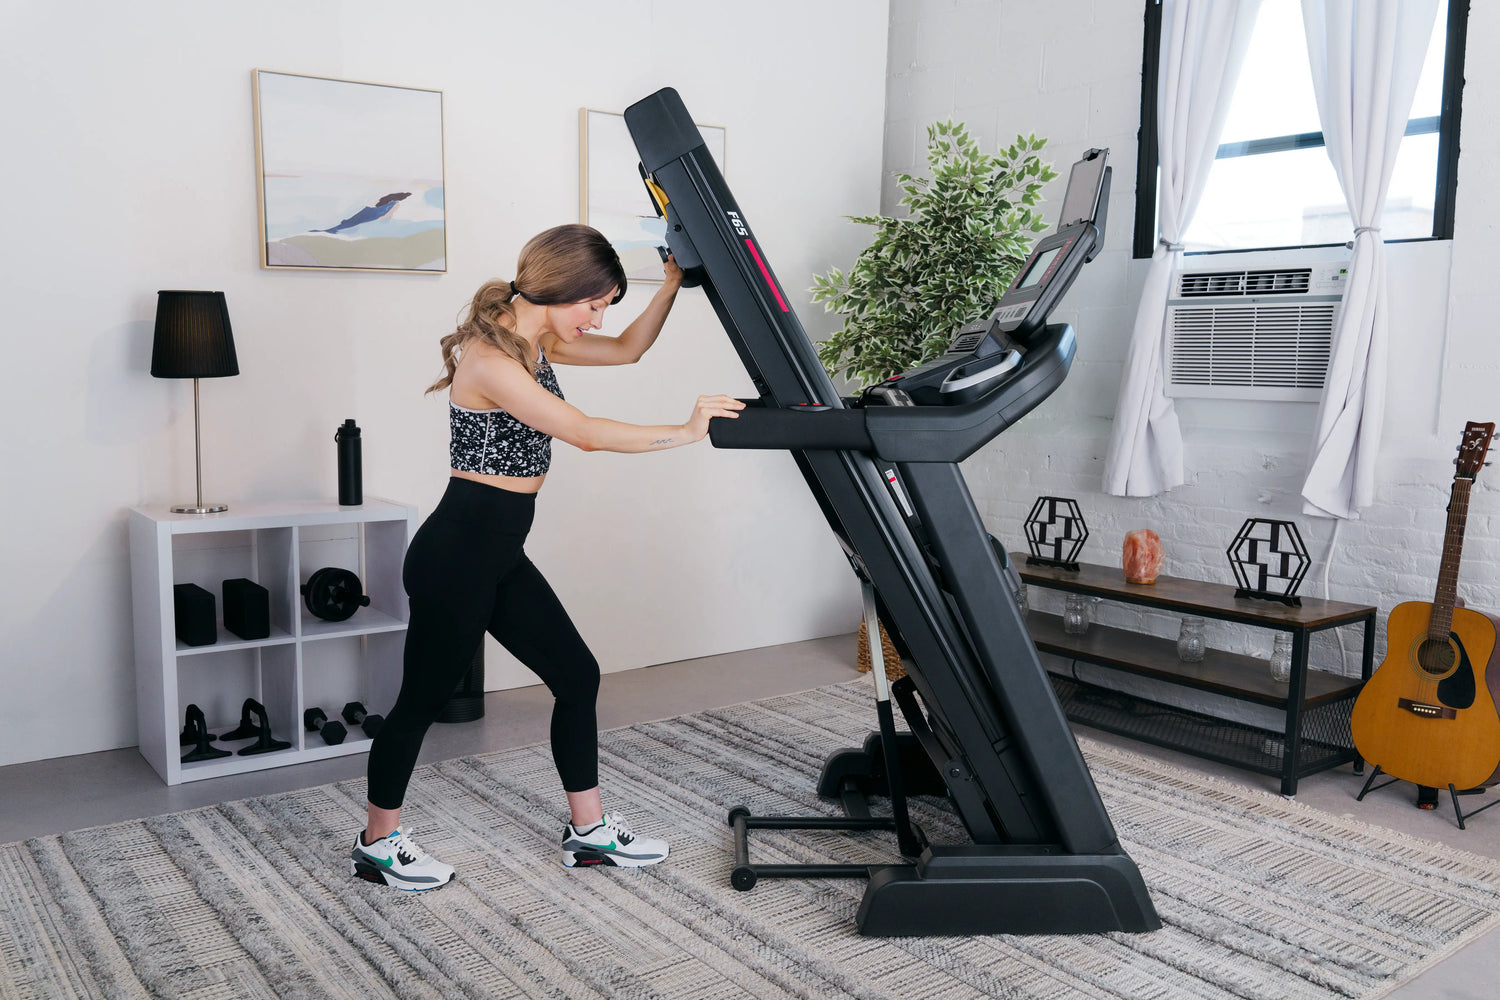
Before doing anything else, unplug the treadmill from the electrical outlet. This step is necessary to prevent any accidental startups or electrical hazards while you're working on the machine.
Remove Motor Hood
The motor hood covers the front part of the treadmill and needs to be removed to access the belt. Use your screwdriver to unscrew and carefully lift the hood off. Set it aside in a safe place to avoid damage.
Remove Old Belt
First, you'll need to loosen the tension bolts located at the back of the treadmill deck. Use an Allen wrench to turn these bolts counterclockwise until the belt slackens.
Once there's enough slack, slide the belt off the front roller and then the back roller. Carefully pull the belt away from the deck.
If the belt is particularly worn, it might require a bit of maneuvering to remove it completely.

Install New Belt
Now it's time to install the new belt. Begin by positioning the belt over the deck. Ensure the belt is centered and aligned properly with the treadmill frame.
Next, slide the belt over the back roller first, followed by the front roller. This might require some adjustments to ensure the belt is sitting evenly and not twisted.
Once the belt is in place, use the Allen wrench to gradually tighten the tension bolts.
Alternate between each side, making sure the belt remains centered as you tighten. Proper alignment is very important to prevent future slipping or uneven wear.
Adjust and Test the Belt
After installing the new belt, you'll need to adjust its tension and alignment. Turn the tension bolts clockwise, but be careful not to over-tighten.
The belt should have about an inch of give when you press down in the center. To test the belt, plug the treadmill back in and turn it on at a slow speed.
Watch the belt's movement closely. It should run smoothly without veering to one side. If it does drift, stop the treadmill and make minor adjustments to the tension bolts until the belt runs true.

Post-Replacement Maintenance Tips
Regular Inspection
Make it a habit to inspect your treadmill belt regularly. Look for signs of wear, such as fraying or uneven wear patterns.
Catching these early can prevent more significant issues down the line. Besides the belt, check the rollers and deck for any signs of damage or wear.
Proper Lubrication
Lubrication is relevant to reducing friction between the belt and the deck. Use a silicone-based lubricant, as recommended by most treadmill manufacturers, including SOLE.
Apply the lubricant following the instructions, usually by lifting the belt and applying it directly to the deck.
Cleaning Tips
Keep your treadmill clean to prevent dust and debris from accumulating. After each use, wipe down the belt and deck with a soft cloth.
Avoid using harsh chemicals, as these can damage the belt material.
Why SOLE Treadmill Belts Stand Above the Rest
SOLE treadmill belts are engineered with superior materials and craftsmanship that set them apart from competitors:
Variety of Belt Sizes
Our treadmills have two dimensions to suit different users and workout styles. The standard 20" x 60" belts found on models like the F63 and F65 provide ample space for most users, while the spacious 22" x 60" belts on the F85 and F89 models offer extra width for taller runners or those with wider strides.
Commercial-Grade Durability
SOLE treadmill belts feature 2-ply construction with reinforced edges, providing up to 5 years of regular use before they should be replaced. This robust design prevents the fraying and stretching common in lower-quality belts, ensuring consistent performance throughout the belt's lifespan.
Cushioned Flex Whisper Deck
SOLE's proprietary cushioning system works in harmony with the belt to reduce impact by up to 40% compared to outdoor running surfaces. This advanced technology not only extends belt life but significantly reduces joint stress during workouts.
Revolutionary Slat Belt Design

The ST90 model features SOLE's innovative slat belt design, which eliminates the traditional single-piece belt in favor of individual slats that move independently.
This construction reduces friction and wear while providing an ultra-smooth running experience that mimics natural outdoor movement.
Warranty Protection
SOLE stands behind their belts with comprehensive warranty coverage—most models include 1-2 years of parts coverage for belts under normal home use, giving you peace of mind with your purchase.
Ready to upgrade your fitness experience? Browse our collection of SOLE treadmills today!
Frequently Asked Questions (FAQ)
How often should I replace my treadmill belt?
The frequency of replacement depends on the treadmill's usage and maintenance. For regular home use, consider replacing the belt every three to five years.
However, if you notice signs of wear earlier, such as fraying or slipping, it's best to replace it sooner.
What if my new belt slips?
If your new belt slips, it may be due to incorrect tension or misalignment. Check the tension bolts and adjust them as needed to ensure the belt is tight enough.
Make sure the belt is centered on the deck and not veering to one side. If the issue persists, consult the treadmill's manual or contact customer support for further assistance.
Can I use the same process for all SOLE treadmills?
While the basic process of replacing a treadmill belt is similar across different models, there may be slight variations depending on the specific SOLE treadmill you own. Always refer to your treadmill's user manual for model-specific instructions.
If you're unsure, it's a good idea to contact SOLE customer service for guidance.
- Check the manual for model-specific instructions.
- Consult customer service if unsure about the process.
- Use manufacturer-recommended tools and parts.
What should I do if I encounter difficulties?
If you run into problems during the replacement process, don't panic. Take a step back and review the instructions to ensure you're following each step correctly.
Double-check that you have the right tools and parts. If the issue persists, consider reaching out to a professional for help. It's better to seek assistance than risk damaging your treadmill.
Why is lubrication important for my treadmill belt?
Lubrication is crucial because it reduces friction between the belt and the deck, preventing premature wear and tear.
A well-lubricated treadmill runs more smoothly and quietly, enhancing your workout experience. It also helps maintain the equipment's performance and prolongs its lifespan.
Always use a silicone-based lubricant, as recommended by most treadmill manufacturers, including SOLE.

Leave a comment
This site is protected by hCaptcha and the hCaptcha Privacy Policy and Terms of Service apply.